


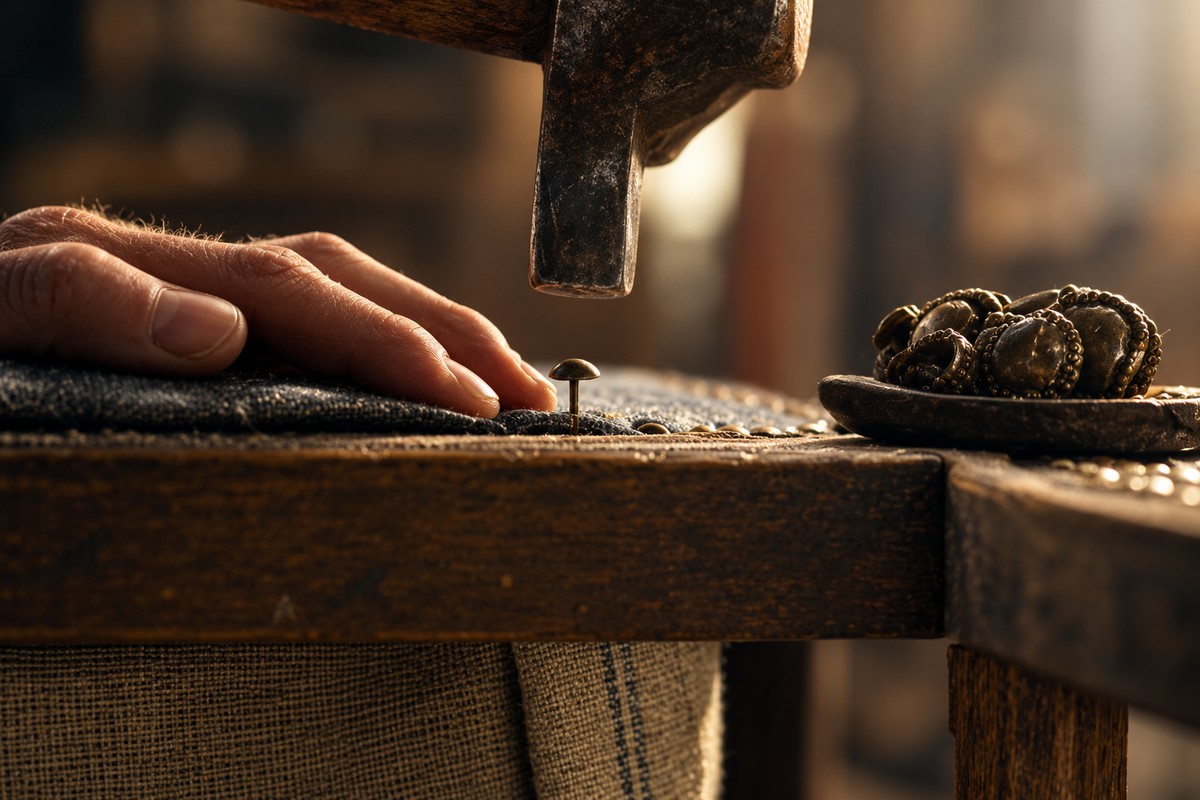
Knowing how to finish upholstery well takes patience and precision. You can spend weeks on a single piece, so the finishing touches matter.
A neat corner, clean edge and well-selected trim make all the difference to your piece’s overall look.
If you’re new to upholstery and are trying to work out how to give your project a professional finish, here’s how to do it.
How to finish upholstery edges with a tack strip
Using tack strips allows you to create a straight edge with a concealed seam.
To do this:
- Start by measuring the straight edge that you need to upholster and cut a piece of cardboard tack strip to that size.
- Cover the unfinished edge with a piece of fabric, reverse side up. Make sure the fabric has an inch or two of excess to fold underneath.
- Attach the fabric by pushing the tack strip into the seam’s edge as far as possible. Fasten the strip with tack pins or staples.
- Fold back the fabric underneath and your piece now has a professional edge.
Making neat corners when upholstering
There’s a knack to a neatly upholstered corner. But this doesn’t mean it has to be complicated.
The best way to achieve clean corners is to keep the process simple. Just remember these three steps:
1. Staple
Staple all the way around your material, stopping about two inches from each corner. It’s important to check that all your straight edges are secured in place; it’s useless trying to neaten the corners if your fabric is still loose.
2. Fold
When the fabric reaches the corner, fold it like you’re wrapping a present. This is the easiest way to create neat, symmetrical corners. However, it can add a few millimetres of bulk to the edge.
For a sleeker finish, you can pinch the excess fabric and fold it into a ‘sail’ shape, fastening it on the underside of the frame. This means there’s less fabric overlap and less bulk. This is ideal when working with thicker fabrics, like leather.
3. Trim
Cut away excess fabric from your corners.
Giving yourself extra fabric to work with is ideal for beginners, but this usually leaves you with a lot of bulk around the corners. To avoid this, trim off any extra fabric once the corner is secure to give a clean finish.
Attaching upholstery trim
Upholstery trimming serves both a decorative and practical purpose. It not only has a stylish appearance, but it also hides any staples and uneven fabric edges.
For beginners, gimp braiding or flanged piping cord are most suitable. Choose a trim that works with your fabric’s colour and texture. The same idea applies when using statement textiles in interior design: the details should complement the fabric rather than compete with it. Once you’ve selected your trim, you can attach it using tacks or glue, depending on preference.
How to attach your upholstery trim with glue
Tip: To make sure your edges are neat, begin the lining on the underside, back or furthest corner of your piece.
- Fold the frayed edge of the braid down and apply a thin layer of glue along the underside of the braid. Avoid applying too much at a time, as excess is difficult to remove.
- Line the gimp braid up with the edges and attach it to the piece. Keep the braid tight to avoid sagging or gaps.
- Apply pressure to the trim as you go, working on a few inches at a time. This keeps the braid secure and properly aligned.
- Once finished, trim the excess braid. Leave 1–2 cm of braiding to fold over and hide the joints.
How to attach your upholstery trim with tacks and nails
For a visible studded effect, use pins, nails or tacks. Which method you choose depends on the style and level of security you need.
As with glue, fold over the end of the braid to prevent fraying. With a tack hammer or mallet, begin to fasten the braiding onto the piece.
Tacks should be added to the centre of the braid at regular intervals, no more than one inch apart so that everything stays in place.
Final thoughts
A professional-looking finish is not only for the experts. Making this a habit as a beginner means your work lasts longer and has a neater appearance, allowing you to enjoy it for years to come.
Don’t be intimidated by a concealed edge or neat corner; the finishing details don’t need to be complicated. With practice, you’ll learn how to finish upholstery with a braided trim and some tacks, taking your work from amateur to professional in no time.

