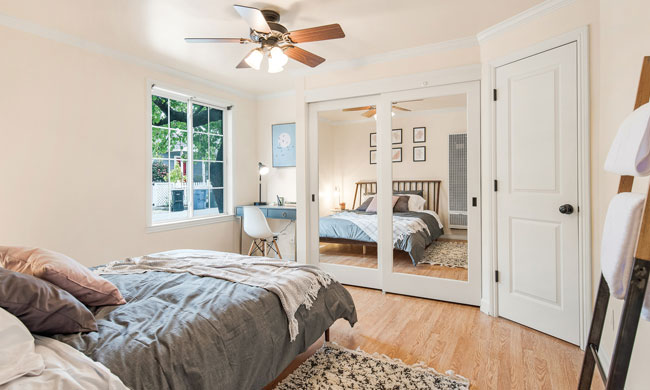
If you’re seeking an affordable way to enhance the appearance of a room in your home, decorative crown molding offers a simple solution to add a touch of elegance and sophistication without breaking the bank.
Crown molding is typically applied as a decorative trim along the junction of walls and ceilings. It is often painted in the same color as baseboards, door frames, and other woodwork, although you can choose to match it with the ceiling or opt for a contrasting shade for a more dramatic effect.
While the challenge of dealing with corner angles might seem intimidating, installing crown molding is a project that you can take on without the need for a professional. However, enlisting some assistance during the process can be helpful, as tasks like measuring, marking, and holding up pieces for nailing can be quite involved for a single person.
Follow this step-by-step guide to incorporate a stunning design element into your home:
- Measure the Room: Calculate the perimeter of the room, accounting for any insets or bump-outs that might add extra inches. Always purchase slightly more materials than needed to allow for errors.
- Prepare the Molding: Apply primer and paint to both sides of the molding and ensure it dries completely.
- Locate Studs: Identify the studs near the ceiling on all walls to provide a secure attachment point for the molding.
- Establish Baseline: Measure down from the ceiling to the depth of the molding and mark this point. Use a level to establish a level baseline for each wall.
- Cut Angles: Utilize a miter saw or coping saw to cut angles for corner pieces. Keep in mind that the molding’s position on the saw table is the reverse of its fit to the wall, so practice cuts are advisable.
- Secure Molding: Employ a nail gun to attach the molding, ensuring that it connects to as many studs as possible for stability.
- Deal with Corners: For corner sections, start by nailing the center of the molding and leave the corner end slightly loose. Adjust the bottom edge using a wood shim or screwdriver to eliminate gaps before securing the corners.
- Joining Pieces: When joining two pieces for an extended wall stretch, ensure the seam aligns with a stud for firm attachment. For a polished appearance, align the ends with complementary 45-degree angles.
- Finishing Touches: If nails are not flush, use a nail set to push them in further. Conceal nail holes using wood putty.
- Caulking: Apply caulk along the seams using a thin bead and smooth away excess using a water-dipped finger.
- Final Touch-Up: Conduct any necessary paint touch-ups, particularly over putty spots and seams.
For more home improvement tips, explore eLivingtoday.com.


