


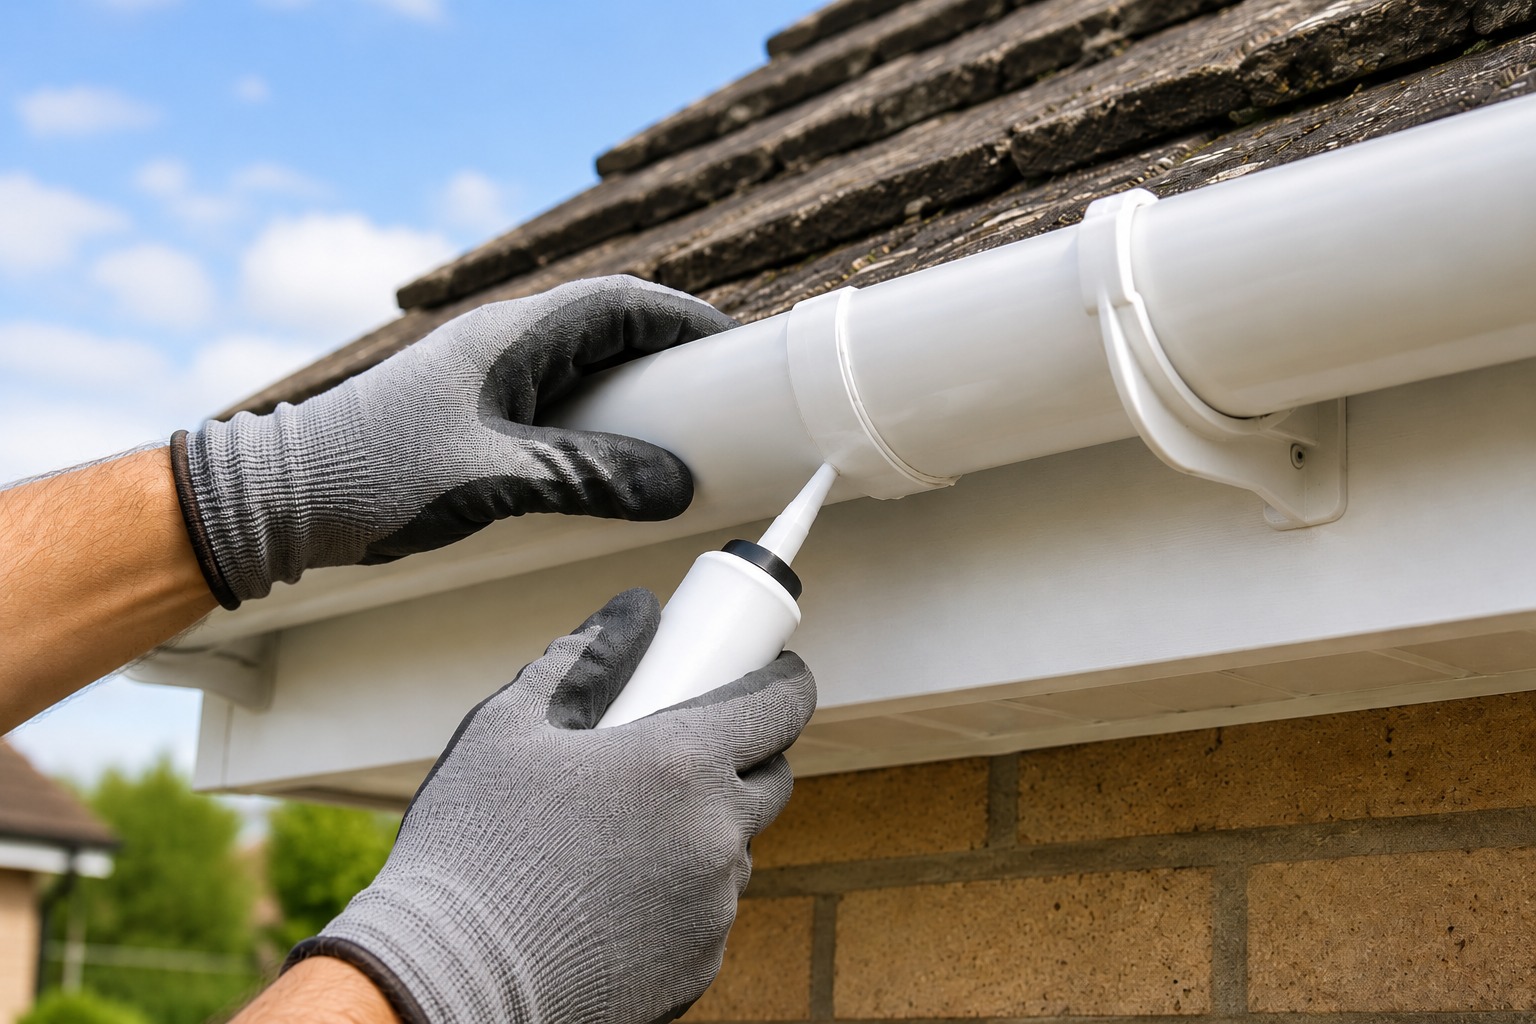
| Quick answer To fix a leaking uPVC gutter joint, clear the debris, release the gutter from the union, inspect and clean the rubber seal, replace any damaged gasket or cracked union, lubricate the seal with a manufacturer-approved silicone spray, refit the gutter to the expansion mark and test it with water. A recurring leak usually points to poor alignment, a sagging bracket or a blocked downpipe. |
A leaking gutter joint is easy to ignore when it produces only a small drip, but repeated water exposure can stain walls, soak fascia boards and contribute to damp around a property. The good news is that many leaking plastic gutter joints can be repaired without replacing the full gutter run.
This guide explains how to fix a leaking gutter joint, how to identify the real cause and when it makes more sense to replace the rubber seal, the gutter union or the surrounding brackets.
Why Is the Gutter Joint Leaking?
A gutter union is designed to hold two sections together while allowing controlled movement as the plastic expands and contracts. Water normally escapes when the seal is no longer making even contact with the gutter.
1. The rubber seal is worn or distorted
The rubber gasket inside the union can flatten, split, harden or move out of its channel. Once the seal loses pressure against the gutter, water begins to drip through the joint.
2. Dirt is trapped under the gasket
Moss, grit and roof debris can sit between the gasket and the gutter. Even a small amount of material can break the seal, particularly during heavy rain.
3. The gutter has moved
Plastic guttering changes length as temperatures rise and fall. FloPlast’s current rainwater installation guidance says seals should be lubricated with silicone spray and the marked expansion allowance should be maintained. View the FloPlast installation guidance.
4. A bracket is loose or badly positioned
A sagging section places uneven pressure on the union. The seal may be perfectly serviceable, but the joint will still leak because the two gutter lengths are no longer sitting squarely in the fitting.
5. The downpipe or outlet is blocked
A blocked outlet causes water to back up and rise above its normal level. PAD Magazine has also covered the growing demand for professional gutter cleaning as property owners become more aware of the damage caused by neglected systems. Read PAD Magazine’s gutter-cleaning report.
Leaking Gutter Joint Diagnosis Table
| What you notice | Likely cause | Best repair |
| A light drip from the union | Dirty, flattened or twisted seal | Clean and reseat the gasket; replace it if damaged |
| A strong leak in normal rain | Cracked union or gutter not clipped correctly | Replace the union or refit the gutter |
| The leak returns after repair | Sagging gutter or incorrect expansion position | Adjust brackets and reposition the gutter |
| Water spills over the top | Blocked outlet, downpipe or insufficient fall | Clear the blockage and check the slope |
| The joint opens in hot or cold weather | Thermal movement is restricted | Reset the gutter to the manufacturer’s expansion mark |
Tools and Materials
- Stable ladder and suitable ladder accessories
- Protective gloves
- Bucket, gutter scoop or small plastic trowel
- Soft brush and cleaning cloths
- Warm soapy water
- Screwdriver
- Replacement rubber seal or matching gutter union
- Manufacturer-approved silicone spray lubricant
- Hose or bucket of clean water
- Replacement brackets or screws where required
Safety Before Starting
Only work in dry, calm conditions and place the ladder on firm, level ground. Do not lean it against plastic guttering, and never stretch sideways to reach the joint. The Health and Safety Executive advises that ladders should be stable, secured where reasonably practical and used without overreaching. Read the HSE ladder-safety guidance.
Arrange professional help when the gutter is above a conservatory, difficult to access, unusually high or likely to require more than a short, light repair.
How to Fix a Leaking Gutter Joint
Step 1: Confirm the exact source of the leak
Water can travel along the underside of a gutter before it falls, so a drip near the union does not always mean the union is the original fault. Observe the area safely during rain or test it later with a controlled flow of water. Look for overflow, cracks, movement and water running behind the gutter.
Step 2: Clear the gutter and nearby outlet
Remove leaves, moss and sediment from both sides of the joint. Check the nearest outlet and downpipe because a partial blockage can keep water standing around the union.
Step 3: Release the gutter from the union
Carefully unclip the front edge and ease the gutter away from the fitting. Plastic becomes brittle in cold conditions, so avoid forcing it. The exact clip arrangement varies between manufacturers.
Step 4: Inspect the rubber gasket
Check for splits, flattening, hardened rubber, twisting, dirt and sections that have moved out of the seal channel. A clean, flexible gasket may be reusable; a damaged or permanently compressed one should be replaced.
Step 5: Clean and dry the fitting
Remove the gasket where possible and wash the union, seal channel and gutter ends. Old sealant, grit and moss must be removed before reassembly. Let the surfaces dry.
Step 6: Replace the seal or complete union
Fit the correct gasket into its channel and make sure it sits flat. Replace the complete union if it is cracked, distorted, missing clips or unable to hold the gutter securely.
Step 7: Lubricate the seal correctly
Apply a small amount of manufacturer-approved silicone spray. This helps the gutter slide into place and allows movement from expansion and contraction. Do not substitute petroleum grease, and do not confuse silicone lubricant with smearing ordinary building sealant over the outside.
Step 8: Refit the gutter to the correct position
Insert the rear edge beneath the retaining lip and press the front edge into the clips. Keep the gutter at the marked expansion position rather than pushing it tightly into the centre. Check that nearby brackets hold the run evenly.
Step 9: Test the repair
Run water through the gutter slowly and watch the joint for several minutes. Confirm that water moves towards the outlet and does not sit around the union. If the leak remains, recheck the seal position, gutter alignment and bracket support.
Should You Use Sealant on a Leaking Gutter Joint?
For most push-fit uPVC systems, covering the outside of the joint with ordinary silicone is not the best first repair. The system is designed to move, and a thick bead can restrict movement, hide a cracked union and make later maintenance more difficult.
A more dependable repair is to clean the fitting, replace the failed gasket or union, restore the correct alignment and check the brackets. A gutter-compatible repair sealant may be useful as a short-term measure when the correct part cannot be fitted immediately, but it should match the gutter material and the manufacturer’s instructions.
How Much Does a Leaking Gutter Joint Cost to Repair?
Costs vary with access, material, location and whether the gutter needs cleaning or realignment. Current UK price guides commonly place a professional leaking-joint repair at around £60 to £90, while wider uPVC gutter repairs may be priced by the metre. See Checkatrade’s 2026 gutter-repair guide.
| Repair | Typical guide price | What can change the price |
| Professional leaking-joint repair | About £60-£90 | Height, access, travel and whether parts are needed |
| General uPVC gutter repair | About £30 per metre | Extent of damage and number of brackets or unions |
| Full uPVC replacement | About £45 per metre | Property size, access equipment and removal of old guttering |
| Cast-iron gutter repair | About £60-£70 per metre | Corrosion, weight, bolts, jointing compound and safe access |
Editorial note: These are guide prices rather than quotations. Check local rates before publication if the article is updated later.
Repairing Metal Gutter Joints
Cast iron, steel and aluminium joints are not repaired in the same way as a modern push-fit plastic union. They may require corrosion removal, new bolts and washers, compatible jointing compound, repainting or replacement of a damaged section.
Older metal guttering is heavy and can be unstable when corroded. Professional repair is normally the safer choice where sections must be separated or removed.
Common Mistakes That Cause the Leak to Return
Applying sealant over dirt
Wet moss and residue prevent a lasting bond and leave the original gasket problem unresolved.
Ignoring the downpipe
A new seal will not stop overflow when the outlet or downpipe is blocked.
Pushing the gutter too far into the union
The system needs an expansion allowance. Incorrect positioning can reopen the joint as the temperature changes.
Leaving a sagging bracket in place
The weight of the gutter and standing water can pull the joint apart again.
Using the wrong replacement profile
Half-round, square, deep-flow and ogee components are not automatically interchangeable.
Overtightening screws
Excess pressure can distort or crack a plastic fitting.
When Should the Complete Joint Be Replaced?
- The union is cracked or distorted
- One or more retaining clips are broken
- The gasket channel is damaged
- The correct replacement seal is unavailable
- The gutter repeatedly pulls away from the joint
- Old sealant cannot be removed cleanly
- The fitting no longer supports the gutter securely
If several joints are leaking, inspect the wider gutter system rather than repairing each connection in isolation. Recurring defects can indicate poor installation, insufficient fall, aged components or movement in the fascia. See PAD Magazine’s guide to common roofing problems.
How to Prevent Future Gutter Leaks
- Clear leaves and moss at least once or twice a year
- Inspect the system after storms, ice or heavy snowfall
- Keep outlets and downpipes clear
- Check fascia brackets for movement or corrosion
- Look for cracked fittings and flattened seals
- Trim branches that repeatedly drop debris onto the roof
- Confirm that water falls consistently towards the outlet
- Repair small faults before they affect walls, fascia boards or roof edges
A planned maintenance routine is usually cheaper than waiting for visible water damage. Read PAD Magazine’s building-maintenance guide.
Frequently Asked Questions
Can you fix a leaking gutter joint without removing it?
You can clear debris without releasing the gutter, but a reliable diagnosis normally requires access to the gasket and union. External sealant alone may hide rather than solve the problem.
Why does the joint leak only in heavy rain?
The outlet may be partly blocked, the gutter may have insufficient fall or the seal may fail only when the water level rises. Check the full run rather than the joint alone.
Can I replace only the rubber gutter seal?
Yes, when the correct seal is available and the union remains sound. Replacing the full union is often more reliable when the fitting is old, distorted or cracked.
How do I identify the correct gutter fitting?
Measure the gutter and identify its profile, such as half-round, square, deep-flow or ogee. Look for a manufacturer’s name or product code on the fitting.
Why is the gutter still leaking after I fitted a new seal?
The gasket may have twisted, the gutter may not be fully clipped, the expansion position may be wrong or a nearby bracket may be pulling the run out of alignment.
Can a leaking gutter cause damp?
Repeated water discharge can soak masonry, fascia boards and areas close to openings. The gutter may not be the only cause of damp, but an active leak should be repaired promptly.
Final Thoughts
Learning how to fix a leaking gutter joint can prevent a small drip from developing into a larger property-maintenance problem. Begin by clearing the system and identifying the exact source. In many uPVC installations, cleaning or replacing the rubber gasket, resetting the gutter to the correct expansion mark and correcting bracket alignment provides a longer-lasting result than applying sealant to the outside.
Safety comes first. Where access is difficult, the gutter is above a conservatory or the repair involves old metal sections, use a competent professional rather than working from an unsafe position.

